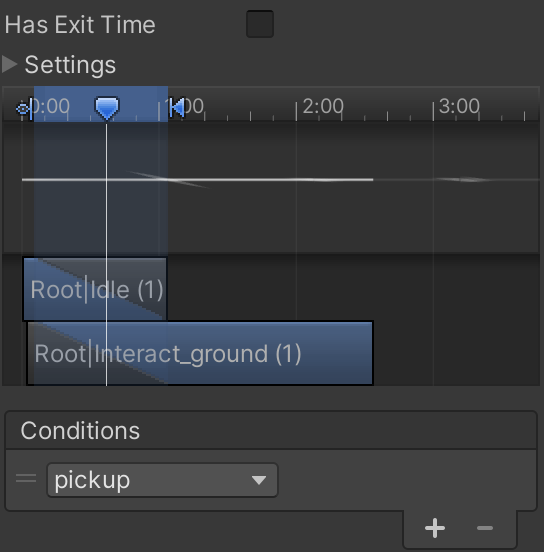
- No exit time
- Condition: pickup triggered
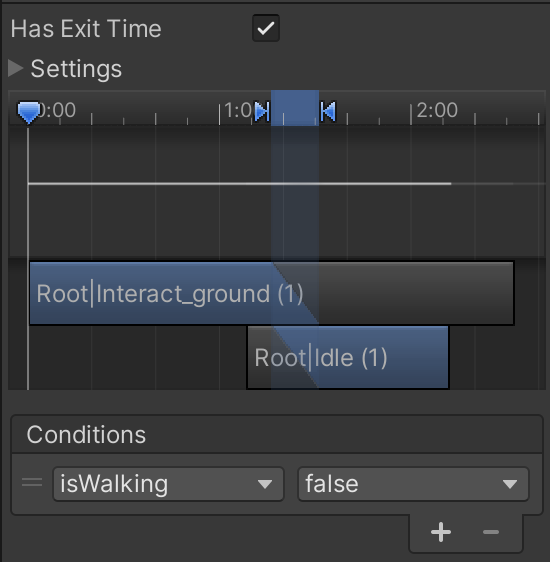
- Has Exit Time
- Condition: isWalking is false
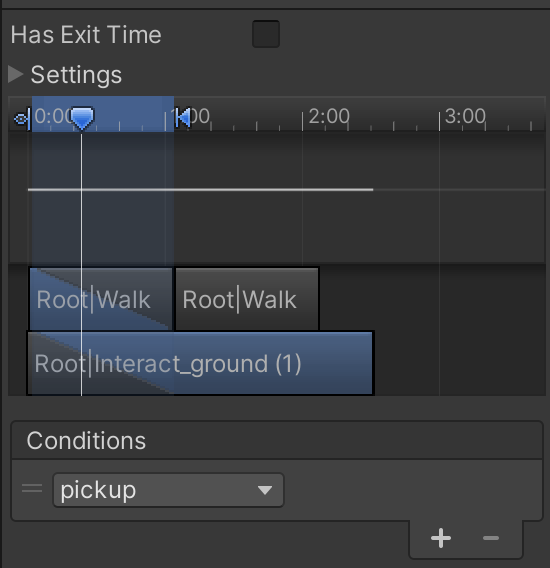
- No exit time
- Condition: pickup triggered
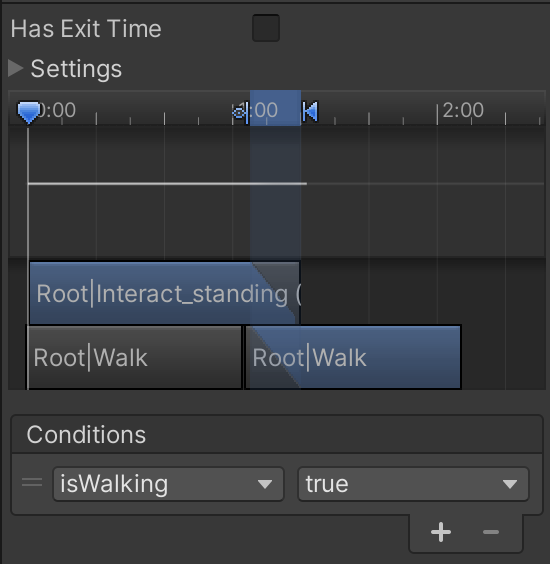
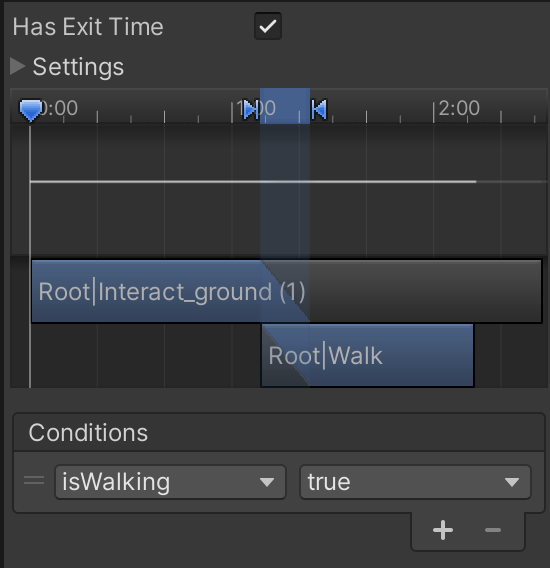
- Has Exit Time
- Condition: isWalking is true
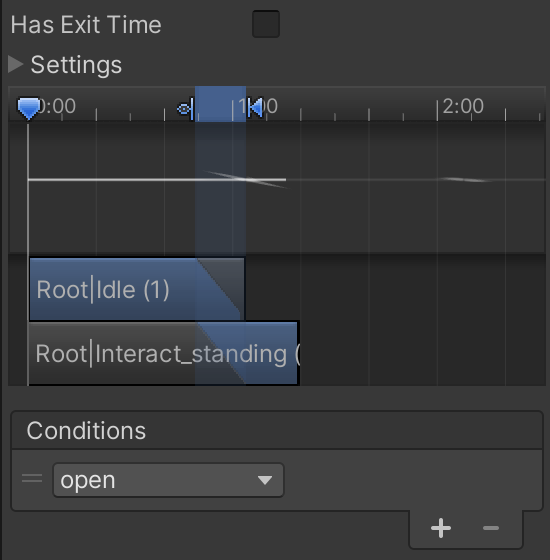
- No exit time
- Condition: open triggered
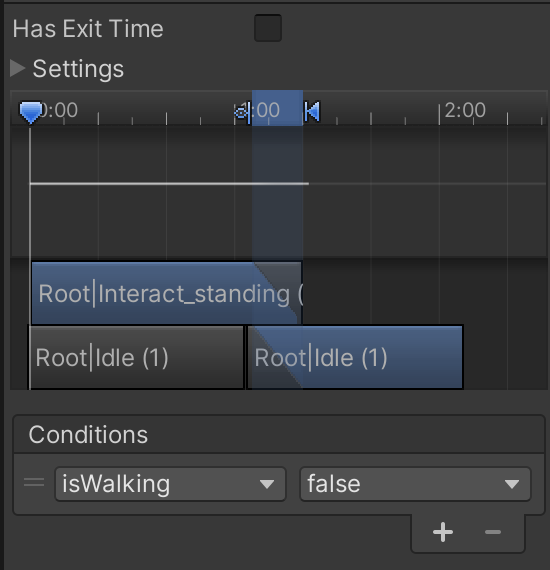
- No exit time
- Condition: isWalking is false
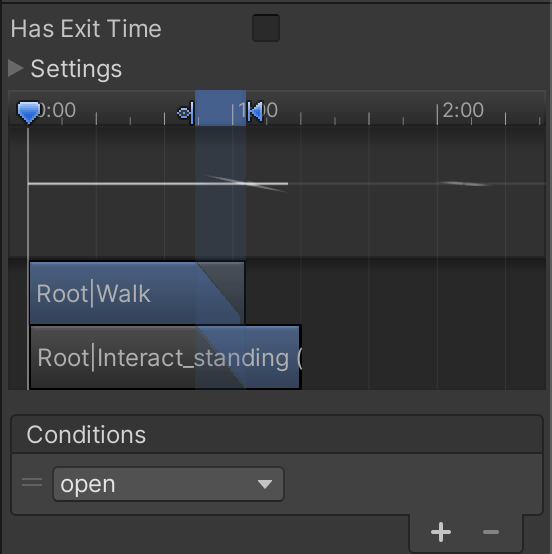
- No exit time
- Condition: open triggered
- No exit time
- Condition: isWalking is true